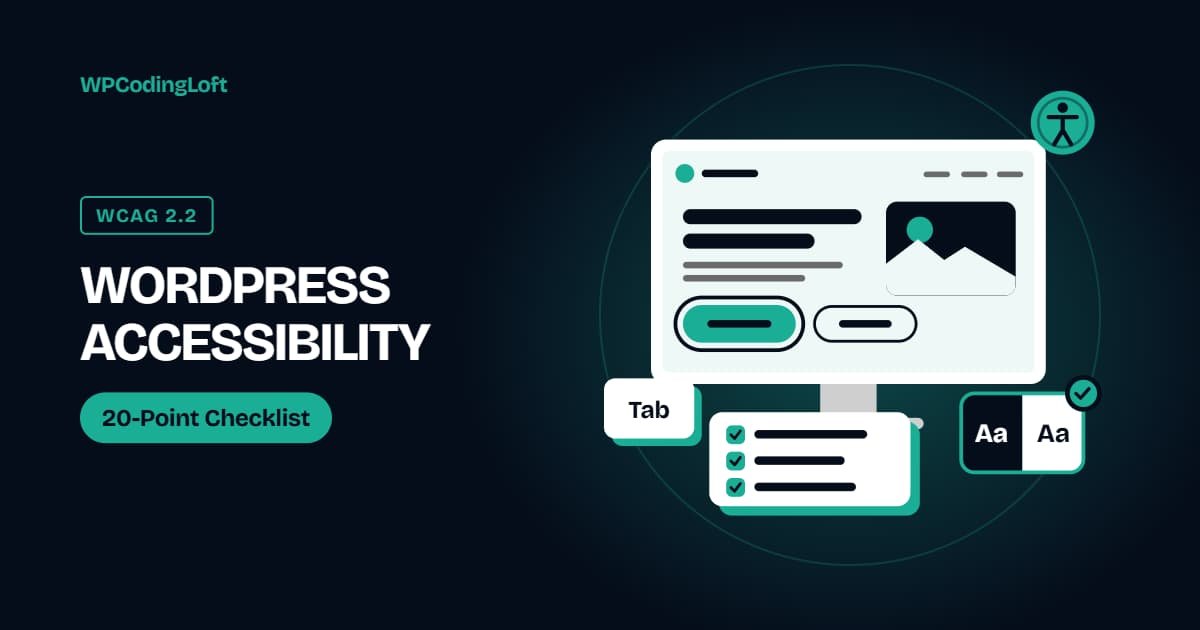
WordPress Accessibility Checklist: 20 Checks Based on WCAG 2.2
A WordPress accessibility checklist helps you build websites that people with disabilities can use, including people who rely on keyboards, screen readers, or high contrast. Accessible websites are also usually clearer and easier for everyone to navigate. This checklist covers the most common issues based on the Web Content Accessibility Guidelines (WCAG) 2.2.
A Note Before You Start About WordPress accessibility checklist
This is a practical guide, not legal advice. Accessibility requirements and laws differ by country, and automated tools identify only some accessibility problems. Combine automated checks with manual testing, and consult an accessibility specialist when you need a formal compliance assessment.
The Four Principles of Accessibility (POUR) including in WordPress accessibility checklist
WCAG is based on four core principles, commonly known as POUR:
- Perceivable: People must be able to see or hear the content being presented.
- Operable: People must be able to use the website with a keyboard and other input methods.
- Understandable: Content, navigation, and controls should be clear and predictable.
- Robust: The website should work reliably with assistive technologies, including screen readers.
WordPress accessibility checklist: Visual Design Accessibility Checks
- Color contrast: Normal text should have a contrast ratio of at least 4.5:1 against its background. Large text should have a ratio of at least 3:1 to meet WCAG Level AA requirements.
- Don’t rely on color alone: Use icons, descriptive text, or underlines to communicate links, errors, and status messages.
- Readable text: Use a comfortable base font size and ensure users can zoom up to 200% without losing content or functionality.
- Visible focus: Every link, button, and form field should have a clear visual focus indicator when selected using a keyboard.
- Target size: WCAG 2.2 introduces minimum target-size requirements. Make buttons and interactive elements large enough to use comfortably, especially on mobile devices.
WordPress accessibility checklist: Website Structure and Navigation Checks
- Logical heading structure: Use one main H1 heading for the page and organize sections with headings in a logical order, such as H2 followed by H3. Choose heading levels based on structure, not appearance.
- Semantic landmarks: Use appropriate HTML elements such as
header,nav,main, andfooterso screen reader users can navigate different page sections. - Skip link: Add a visible-on-focus “Skip to content” link near the top of the page so keyboard users can bypass repeated navigation.
- Descriptive link text: Avoid vague phrases such as “click here.” Use descriptive link text that explains the destination or purpose.
- Page titles and language: Give every page a clear, descriptive title and define the correct language in the HTML document.
WordPress accessibility checklist: Images and Media Accessibility
- Alternative text: Describe the purpose or information conveyed by meaningful images. Decorative images should use empty alternative text (
alt="") so screen readers can ignore them. - Captions and transcripts: Provide accurate captions for videos and transcripts for audio content.
- Autoplay and moving content: Avoid automatically playing media with sound. Provide controls that let users pause, stop, or hide moving content where required.
WordPress accessibility checklist: Keyboard and Interaction Accessibility
- Keyboard access: Every interactive function should work using the keyboard, including Tab, Enter, Space, and arrow keys where appropriate.
- No keyboard traps: Users must always be able to move out of menus, modals, and interactive widgets using the keyboard.
- Accessible menus and modals: Dropdown menus should support keyboard interaction. Modal dialogs should manage focus correctly and return it to the element that opened them when closed.
WordPress accessibility checklist: Form Accessibility Checks
- Visible labels: Every form field should have a visible, properly associated label. Do not rely only on placeholder text.
- Helpful error messages: Explain what went wrong and how to fix it. Place error messages near the relevant field and make them accessible to assistive technologies.
- Clearly marked required fields: Identify required fields using text or appropriate semantic attributes, not color alone.
WordPress accessibility checklist: Accessibility Testing and Maintenance
- Test regularly: Run automated accessibility checks, then perform manual testing using only a keyboard and a screen reader. Repeat these checks after significant design, content, or plugin changes.
WordPress accessibility checklist: A Quick WordPress Accessibility Test You Can Do in 10 Minutes
- Test keyboard navigation: Put your mouse aside and use the Tab key to move through the page. Can you reach and use every interactive element?
- Test zoom: Increase browser zoom to 200%. Does the layout remain usable without losing content or functionality?
- Run an automated checker: Use a free tool such as WAVE or the accessibility audit in Chrome Lighthouse.
- Check color contrast: Review text contrast on buttons, navigation, and footer content.
- Test with a screen reader: Turn on a screen reader and navigate through one complete page to identify confusing labels, missing descriptions, or navigation problems.
WordPress accessibility checklist: WordPress-Specific Accessibility Tips
- Choose an accessible theme: Look for a theme that documents accessibility support, but test its actual output rather than relying only on its claims.
- Add image descriptions: Enter appropriate alternative text in the WordPress Media Library when uploading meaningful images.
- Review interactive elements: Be careful with sliders, pop-ups, animated blocks, and other features that can create accessibility problems.
- Test page builders and form plugins: Tools such as Elementor and form plugins can introduce inaccessible markup if not configured correctly.
- Avoid relying on accessibility overlays alone: Overlay widgets cannot automatically fix underlying problems with HTML structure, keyboard interaction, color contrast, or website functionality.
Common WordPress Accessibility Mistakes including in WordPress accessibility checklist
- Using low-contrast gray text on a white background.
- Removing keyboard focus outlines for visual styling.
- Using placeholder text instead of proper form labels.
- Choosing heading levels based only on font size.
- Ignoring keyboard navigation and screen reader compatibility.
- Treating accessibility as a one-time task instead of an ongoing process.
Need a WordPress Accessibility Review?
WPCodingLoft provides WordPress development and accessibility-focused improvements for businesses and agencies. From reviewing website structure and navigation to improving forms, contrast, and keyboard accessibility, we can help identify and address common accessibility issues.
Explore our WordPress ADA Accessibility Compliance services or request an accessibility review.
Frequently Asked Questions For WordPress accessibility checklist
What Is WCAG 2.2?
WCAG 2.2 is a version of the Web Content Accessibility Guidelines published by the World Wide Web Consortium (W3C). It provides testable success criteria for making web content more accessible to people with disabilities. It builds on earlier WCAG versions and introduces additional requirements for areas such as focus visibility and target size.
Is My WordPress Website Required to Be Accessible?
Accessibility requirements depend on your country, industry, organization, and audience. Some businesses and public organizations have specific legal obligations. Check the regulations that apply to your situation or consult an accessibility specialist. Regardless of legal requirements, making your website accessible is a valuable practice.
Can a WordPress Plugin Make My Website Accessible?
A plugin can help address specific accessibility issues, but it cannot automatically fix poor website structure, insufficient color contrast, inaccessible navigation, or problematic code. Manual testing with keyboards and assistive technologies is still necessary.
What Are the Best Free Website Accessibility Testing Tools?
Some useful free accessibility testing tools include:
- WAVE for identifying common accessibility issues.
- Google Lighthouse for accessibility audits in Chrome.
- Keyboard testing to check navigation and interactive elements without a mouse.
- Screen reader testing to evaluate how website content and controls are announced to users.